
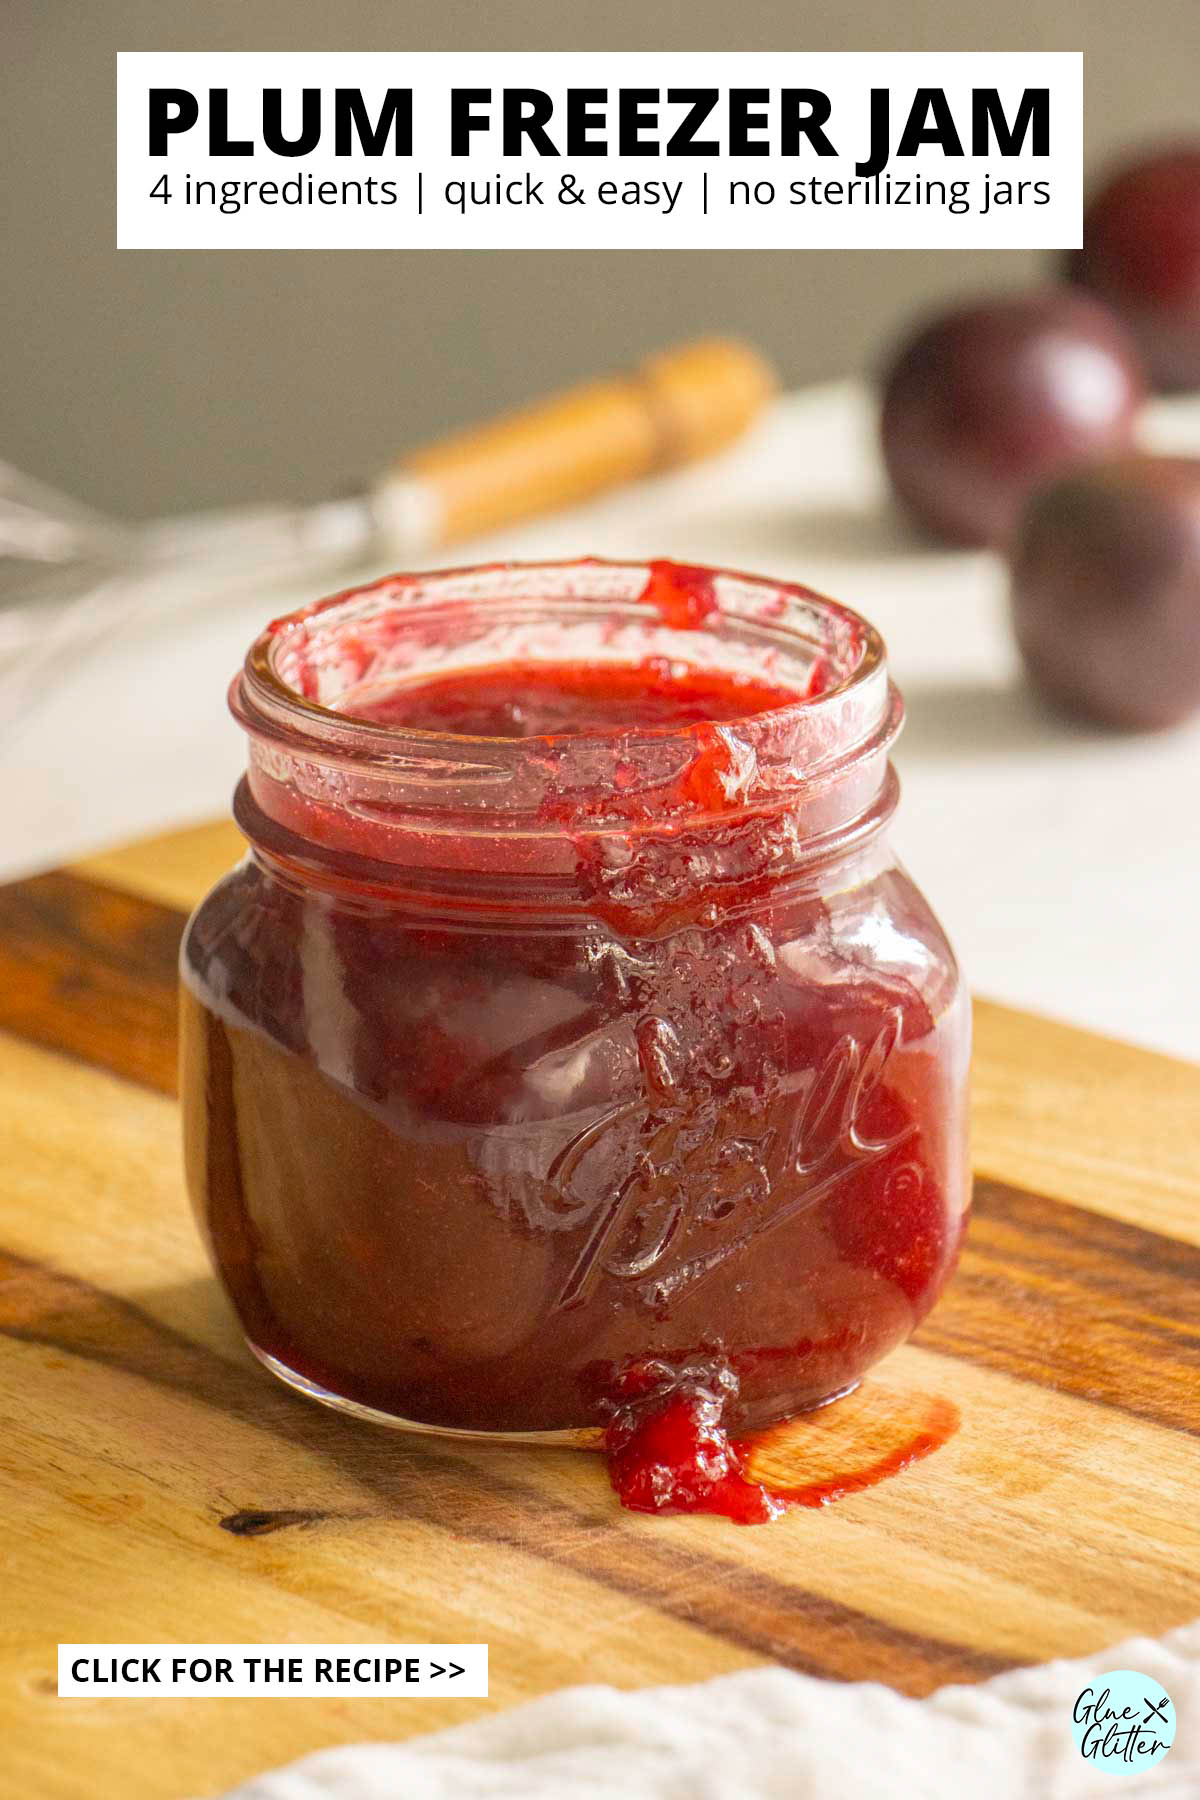

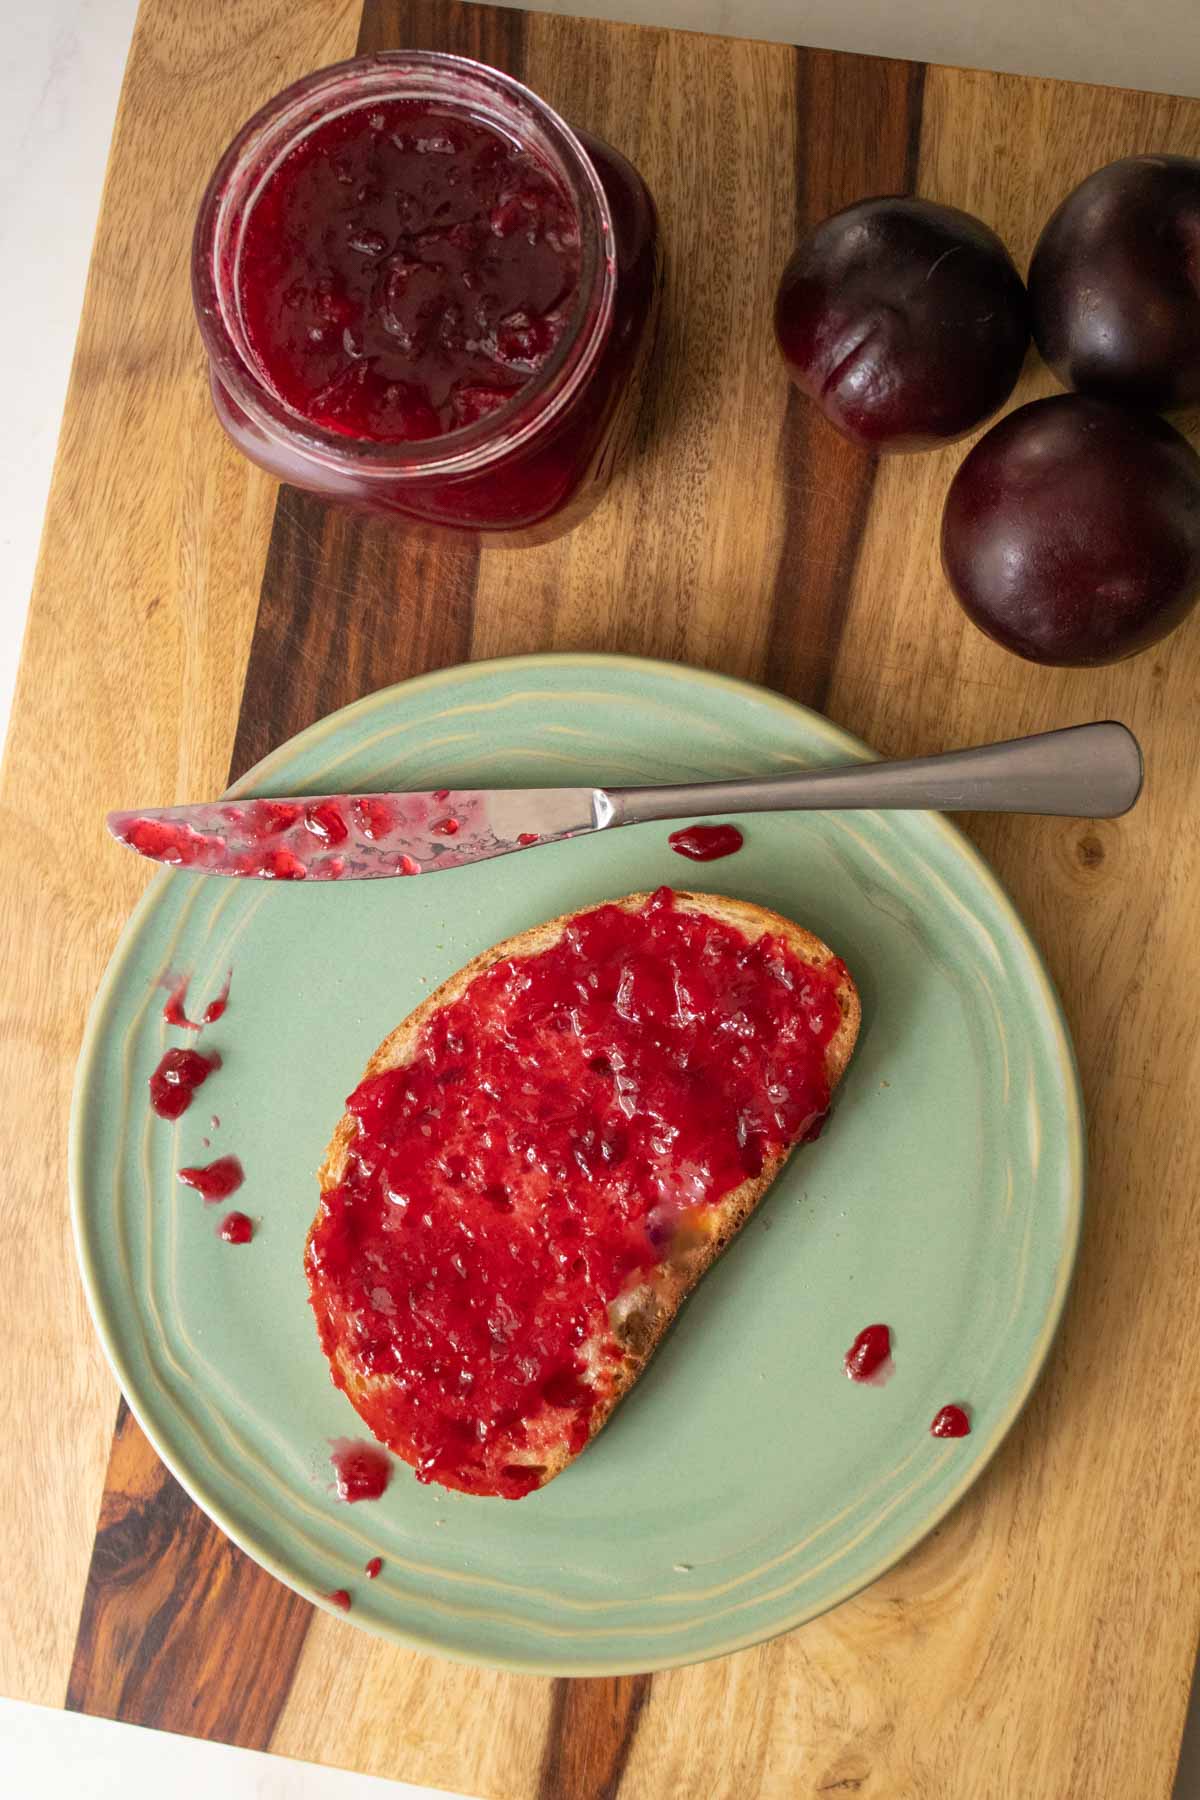
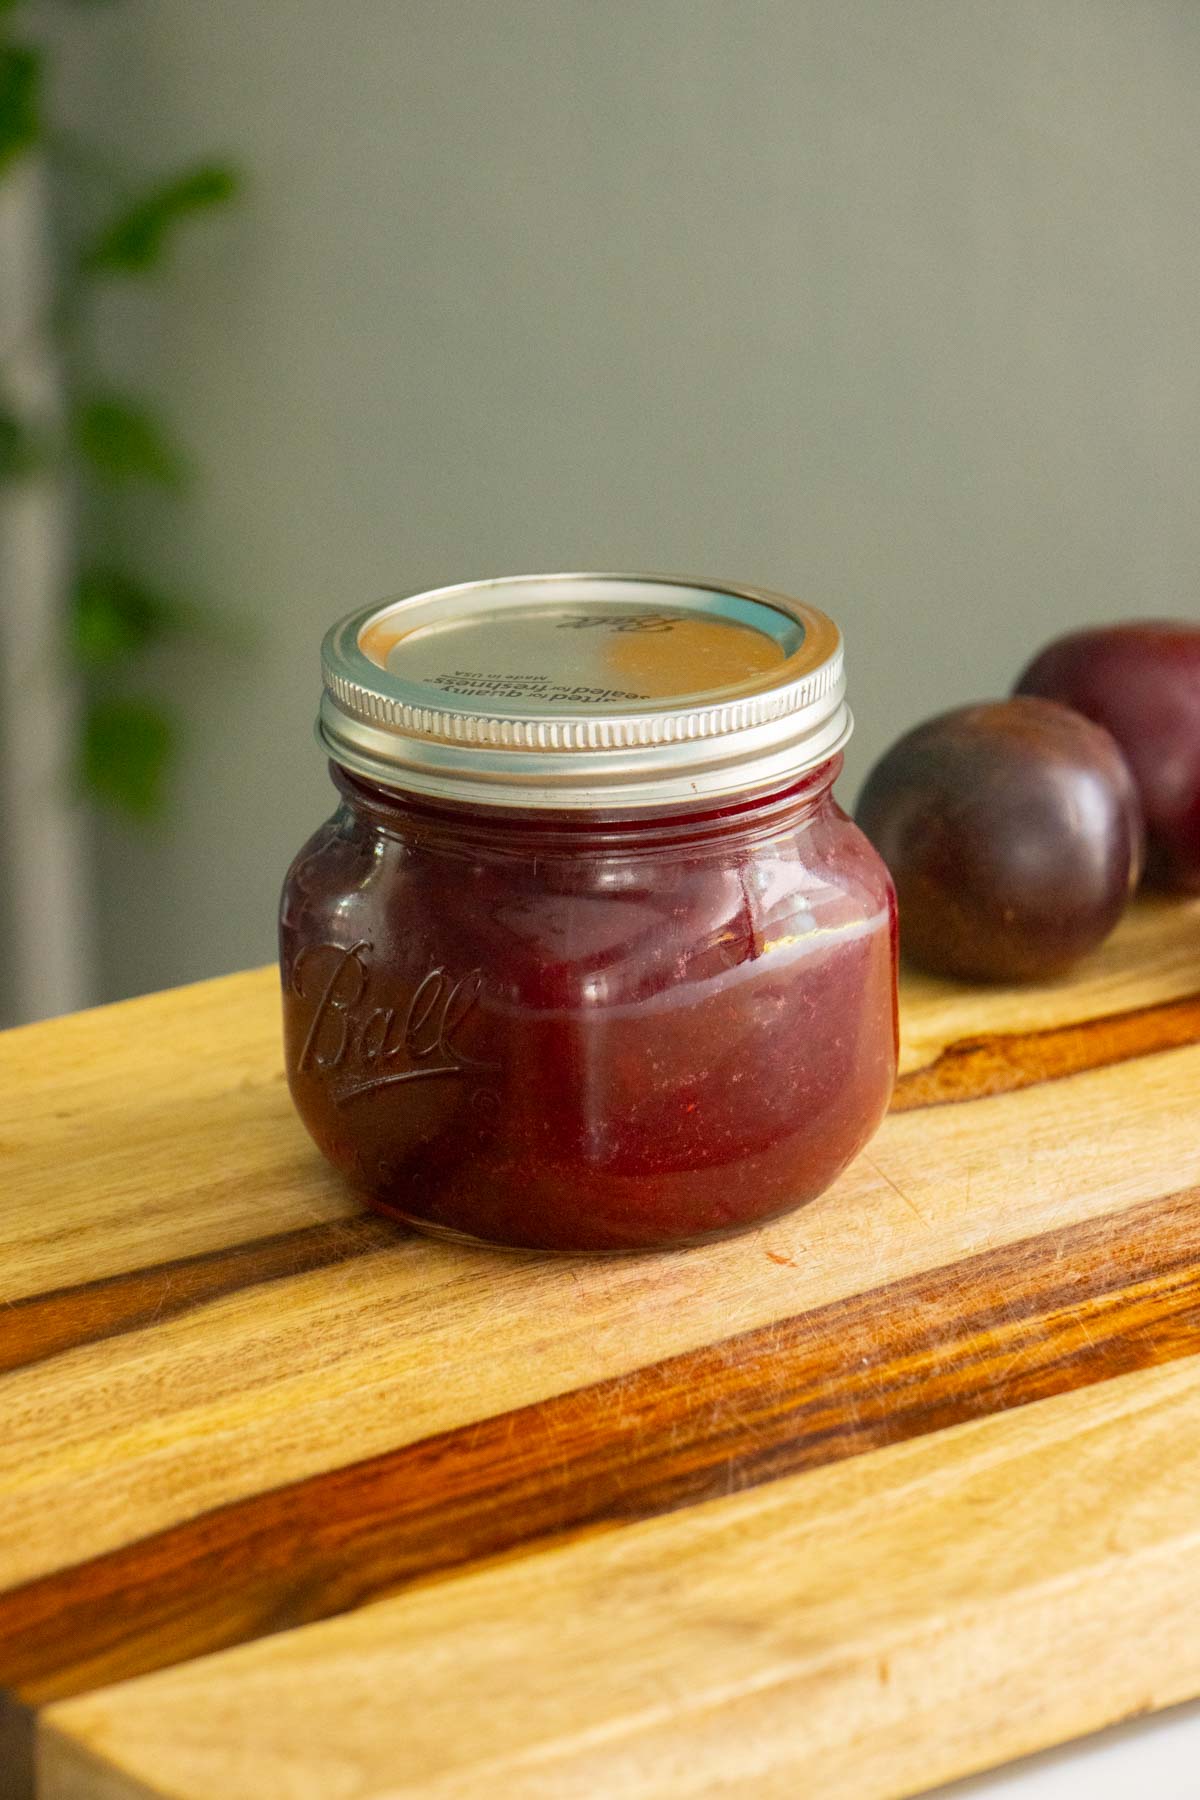
Plum freezer jam is a delicious spread on toast, stirred into yogurt, or anywhere else you'd use sweet, delicious jam. Easy to make with no pectin and no sterilizing!
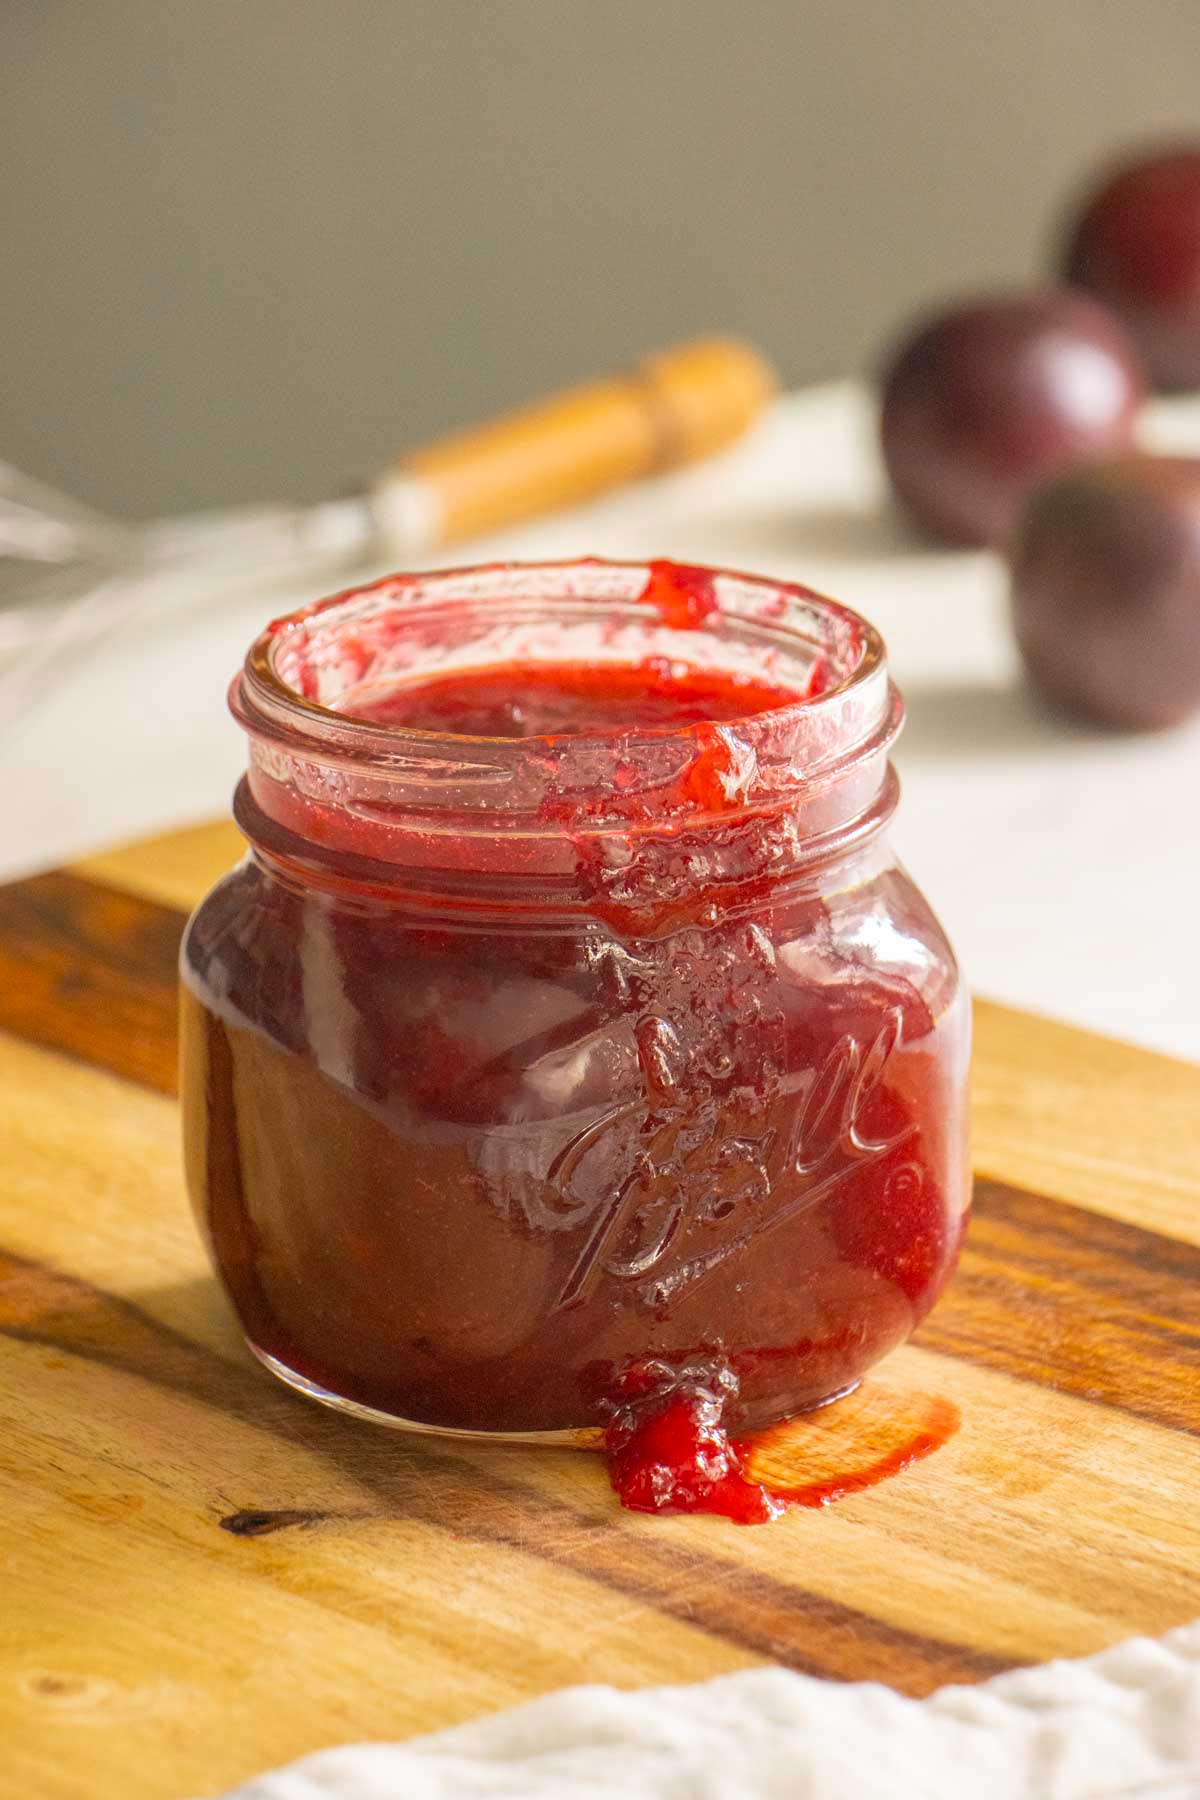
Table of Contents
Y'all know by now that I love making freezer jams! Maybe you've even tried and loved my strawberry freezer jam, blackberry chia seed jam, or strawberry rhubarb freezer jam. This freezer plum jam is adapted from my popular apricot freezer jam recipe.
Like apricots, plum skins naturally contain pectin. So, instead of peeling our plums for this jam, we are just removing the pits. Then, cutting into big chunks.
Freezer jam is different from regular jam. It is not shelf stable. Instead, you store it in the fridge for a few weeks or for months in the freezer. No need to sterilize or hot water can!
Like with my other freezer jams, this uses my two tricks to make it quick and easy:
- Start with the food processor. Why wait for heat to break the fruit down, when you can get a little head start in the food processor?
- Use a frying pan. Since we are making a small batch, the frying pan is perfect. It gives the jam more surface area while cooking, so it cooks down more quickly.
So get yourself some plums, and let's make freezer jam!
💖 Why You'll Love this Recipe
- quick and easy plum freezer jam
- no pectin needed
- small batch recipe
- sweet, tart, amazing flavor!
✓ Ingredients and Substitutions
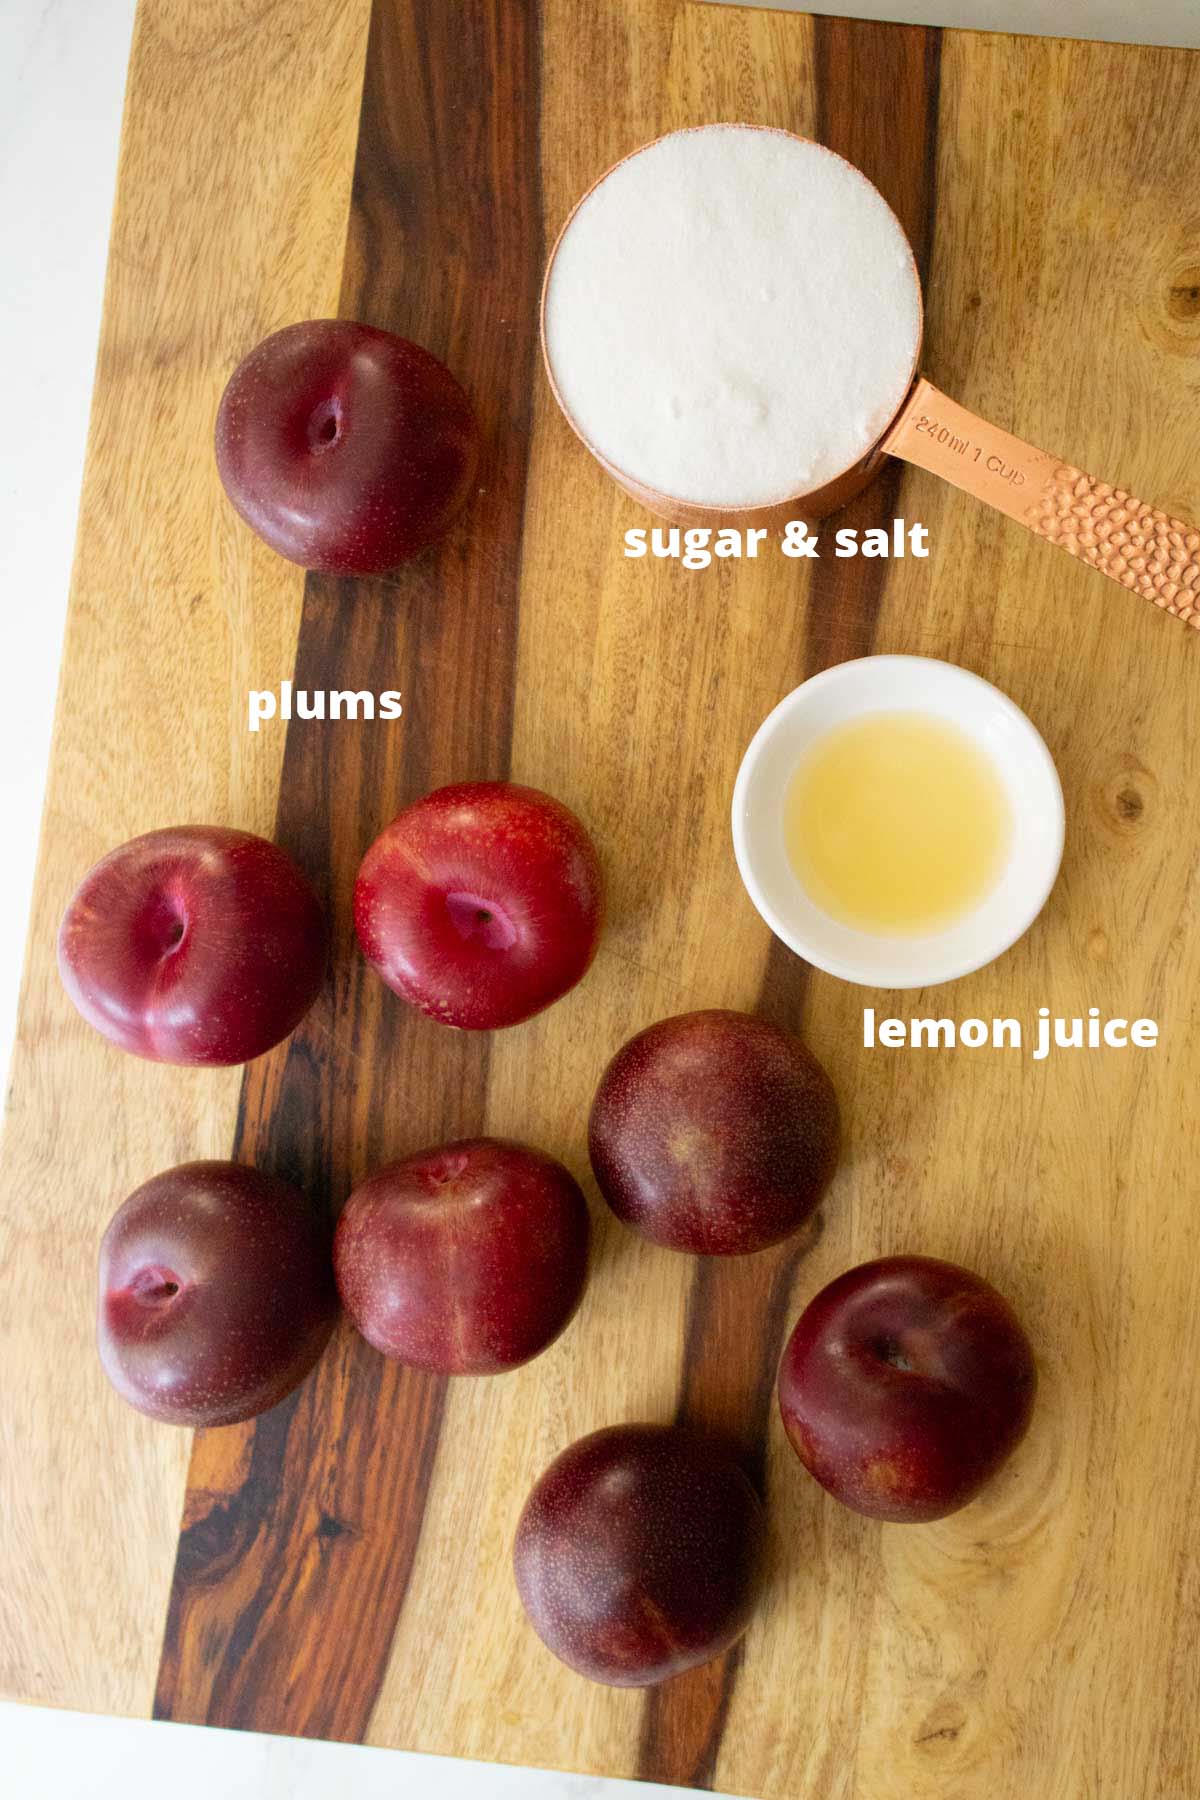
- fresh plums - You don't need to peel your plums for freezer jam. In fact, the peels contain pectin, which helps the jam thicken naturally. You just want to cut them into big chunks and get the pits out.
- sugar - For sweetness. I'm using sugar because it's affordable, but you can use ¾ cup of a liquid sweetener, like agave or maple syrup instead, if you prefer. This will add liquid and increase cooking time.
- lemon juice - A little bit of lemon adds tang and acidity, which adds a bit of shelf life in the fridge and helps the natural pectin in the fruit jell the jam. It also brightens up the flavor of this plum jam.
- salt - The teeniest, tiniest pinch of salt brings out the flavors. You can omit, if you like.
- optional additions - If you want extra flavor, you can add some minced ginger and/or a pinch of cloves to the food processor with the rest of the ingredients.
🔪 How to Make Plum Freezer Jam Without Pectin
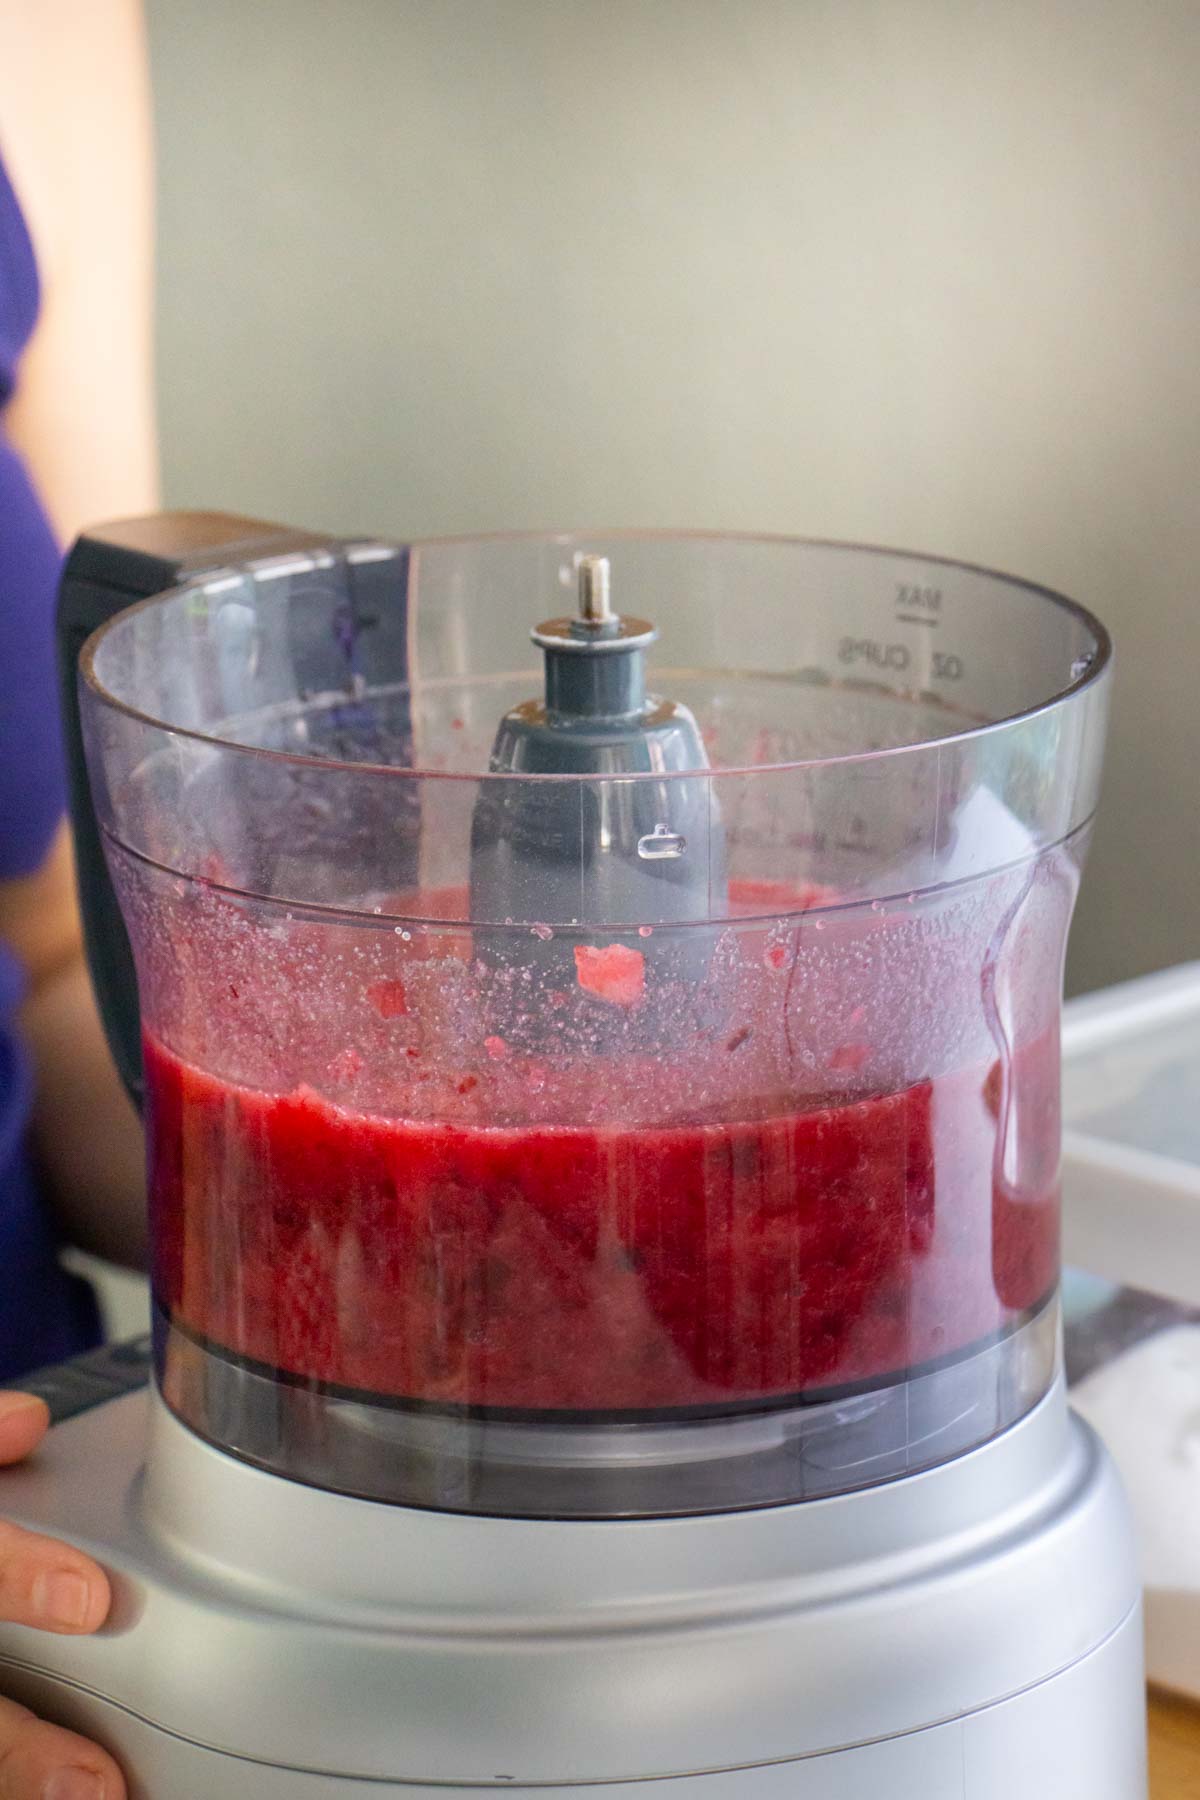
Add all of the ingredients to your food processor.
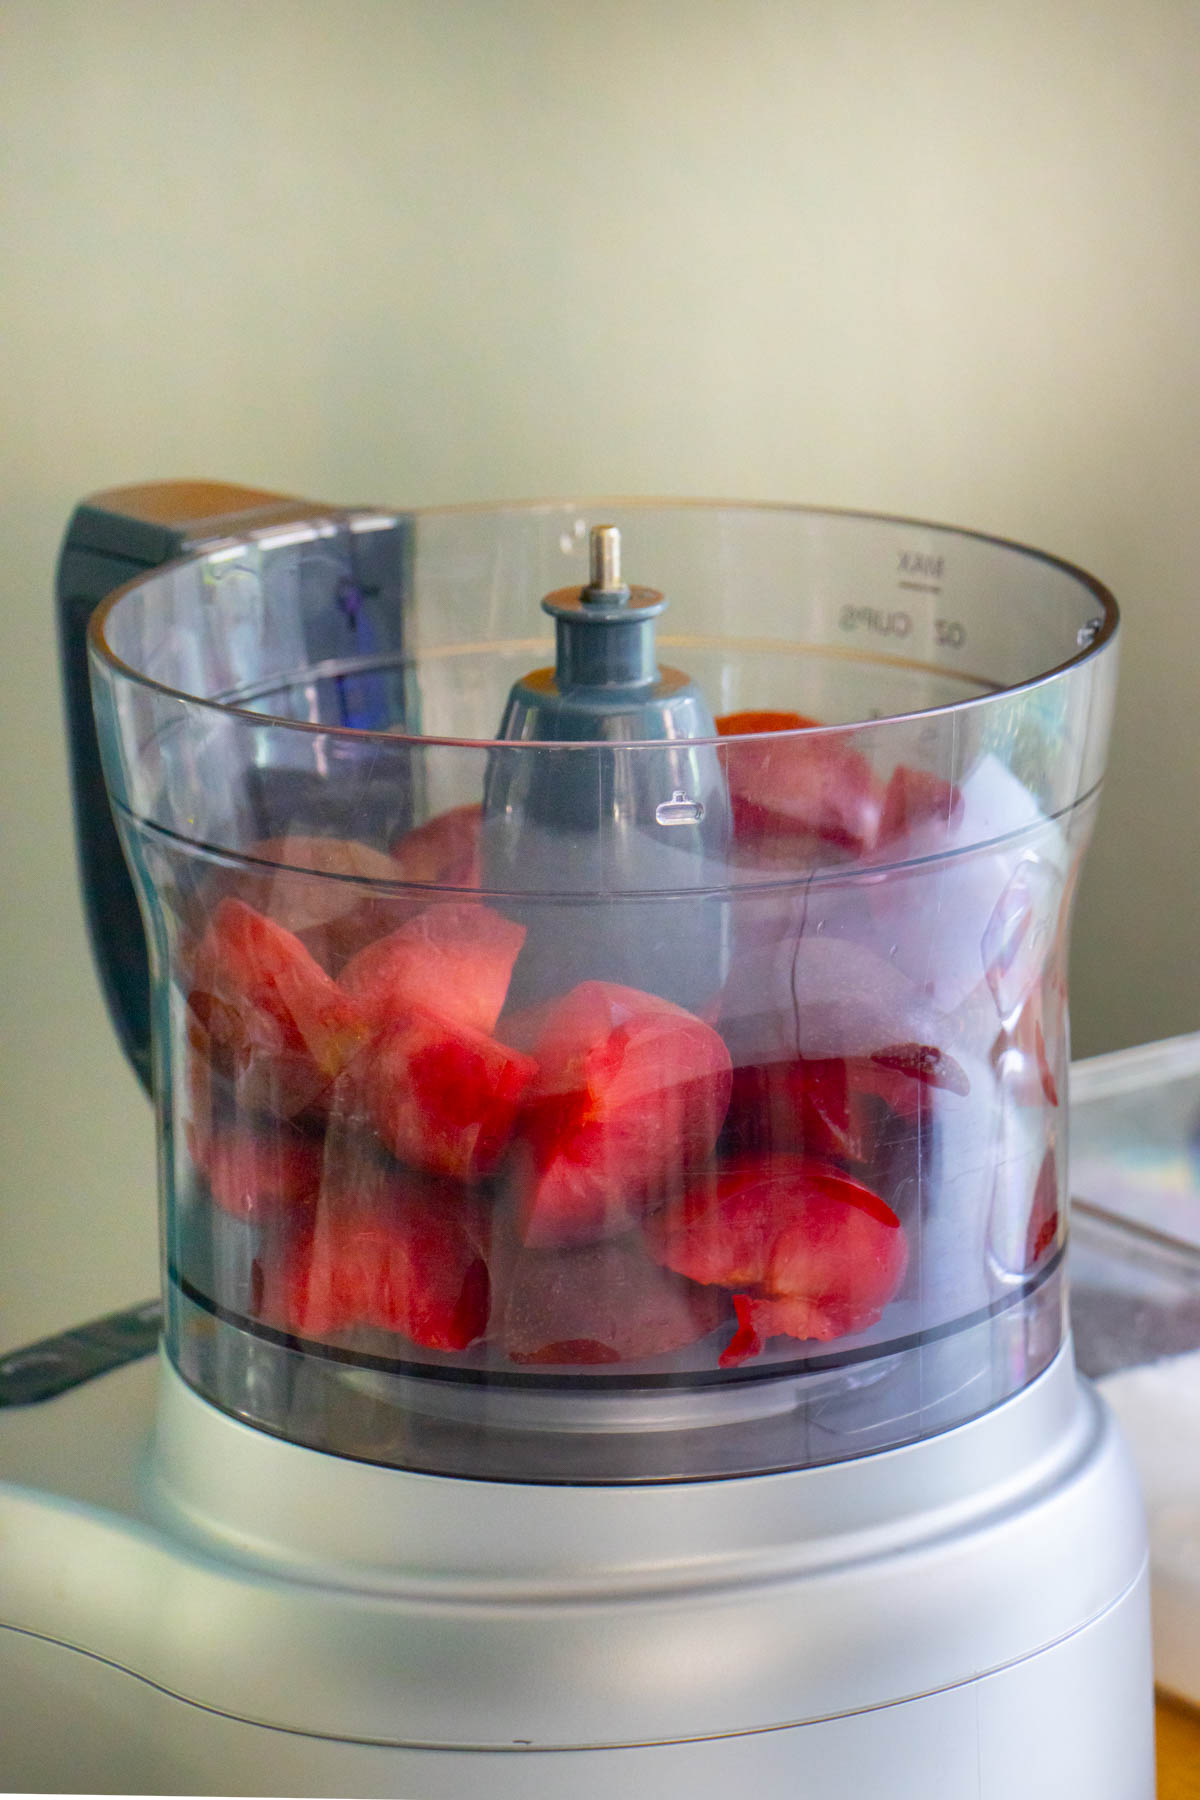
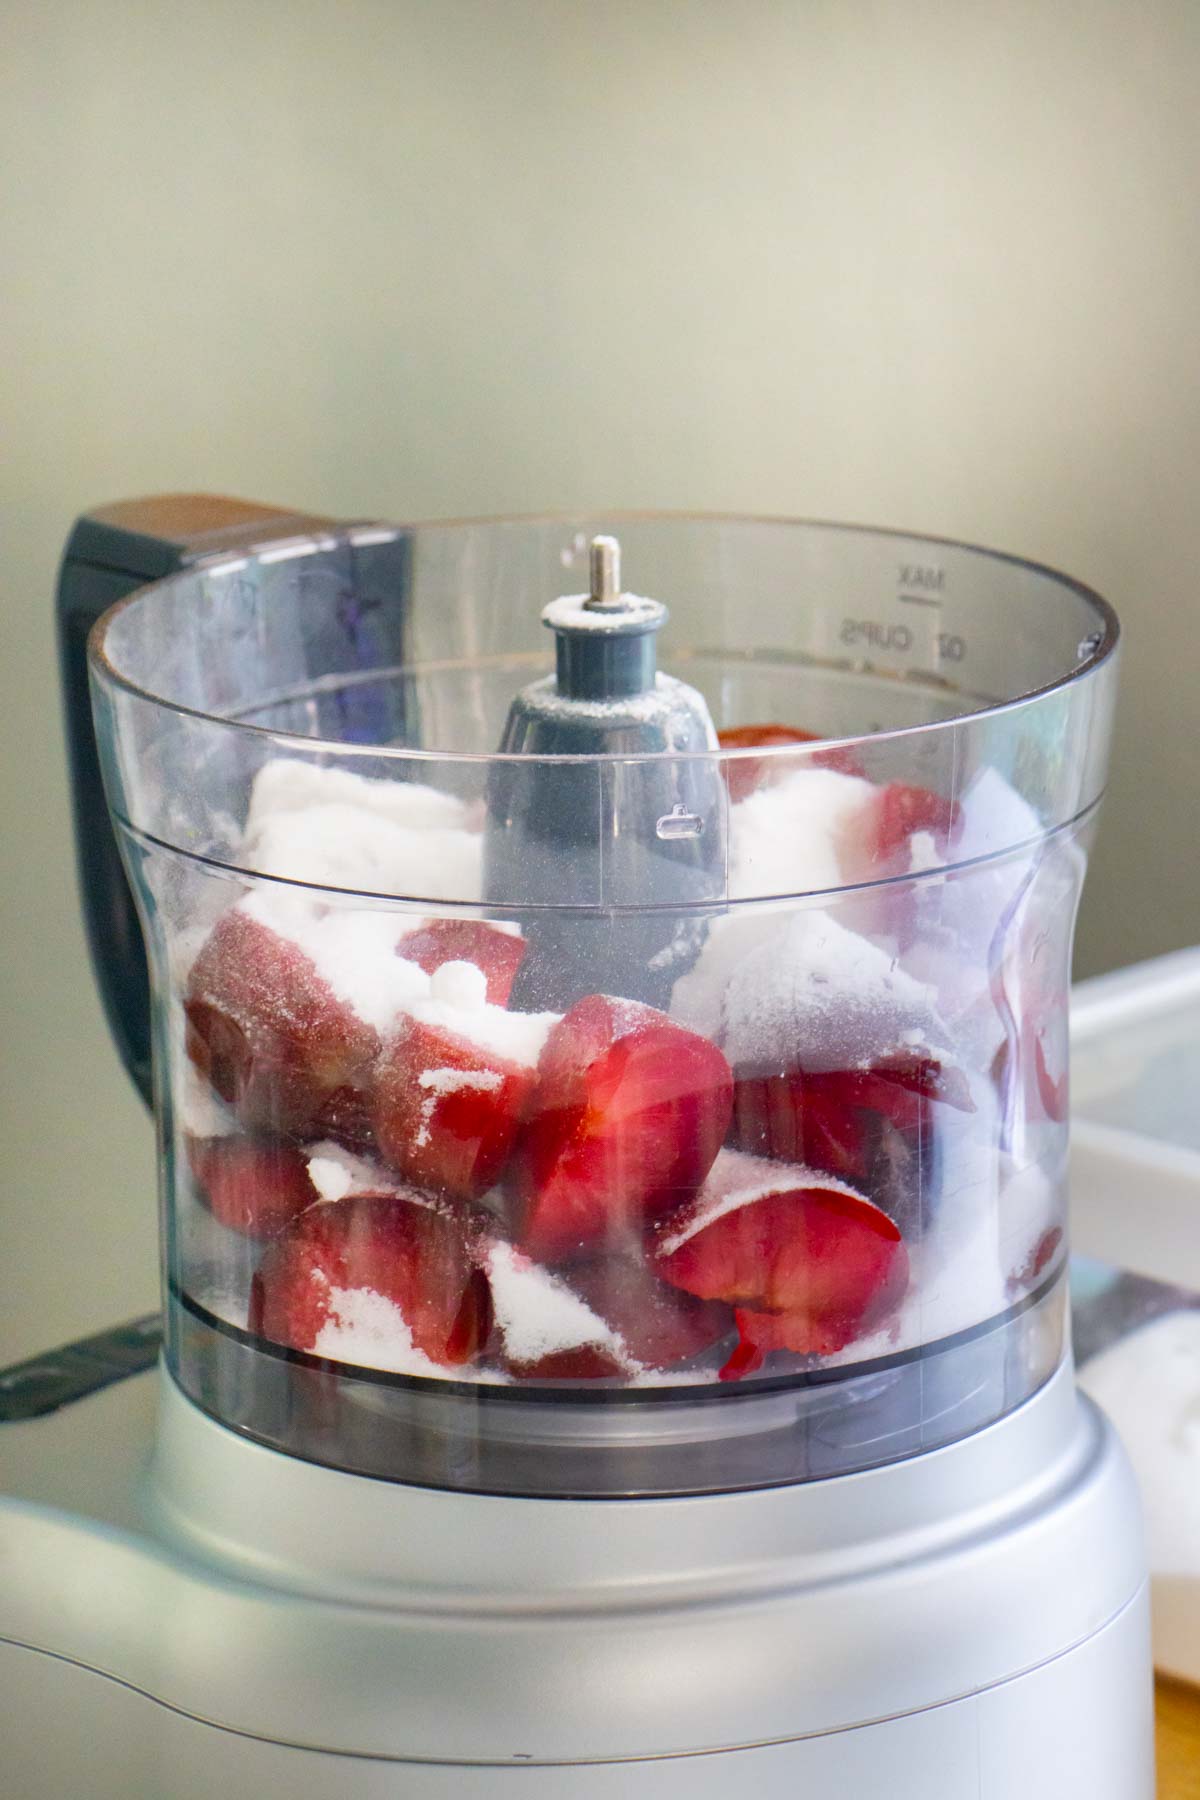
Pulse until you reach a compote-like consistency. You don't want the mixture to be completely smooth, so leave some chunks of plum in there! This is a lot of plums, so if you need to process in batches, go for it. It all mixes together in the pan.
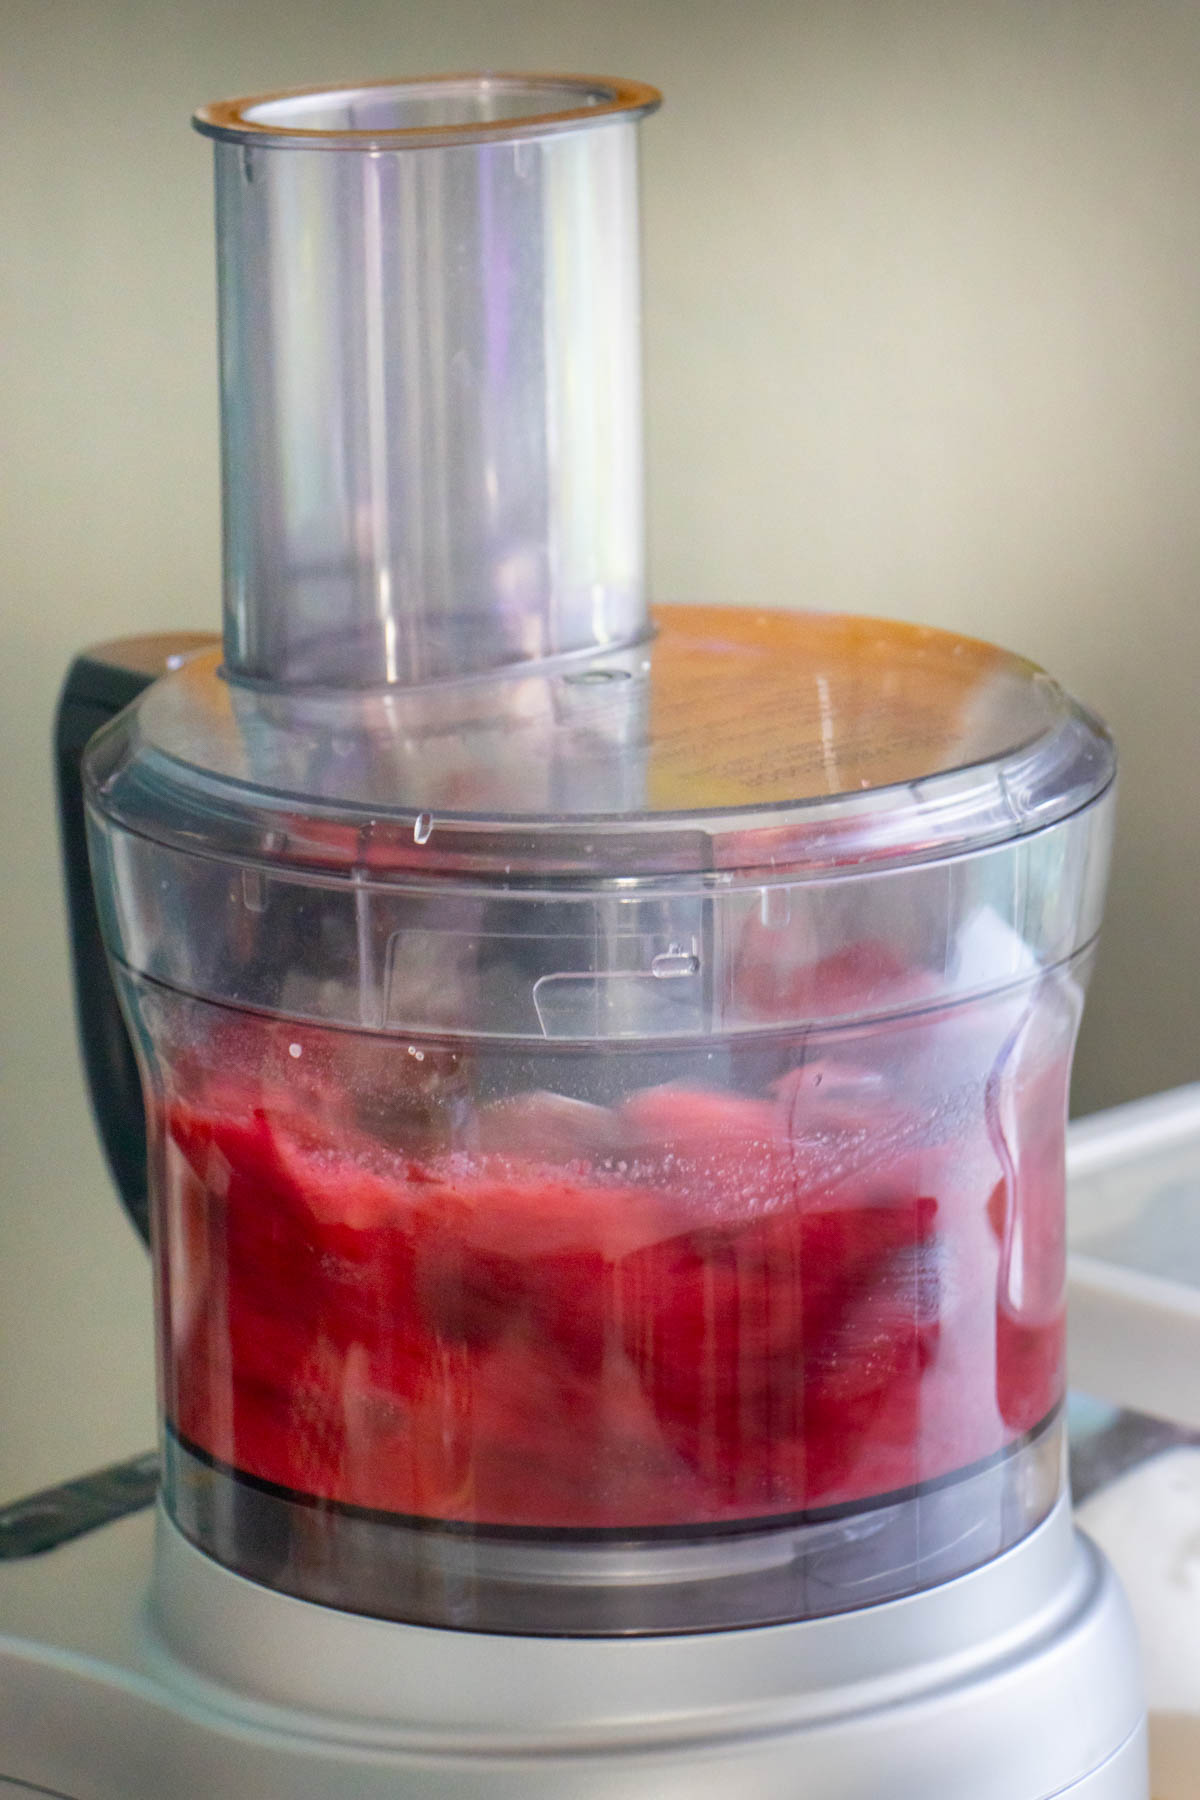
Transfer the plum mixture to a frying pan on medium-high heat, and bring to a boil, then reduce the heat to medium.
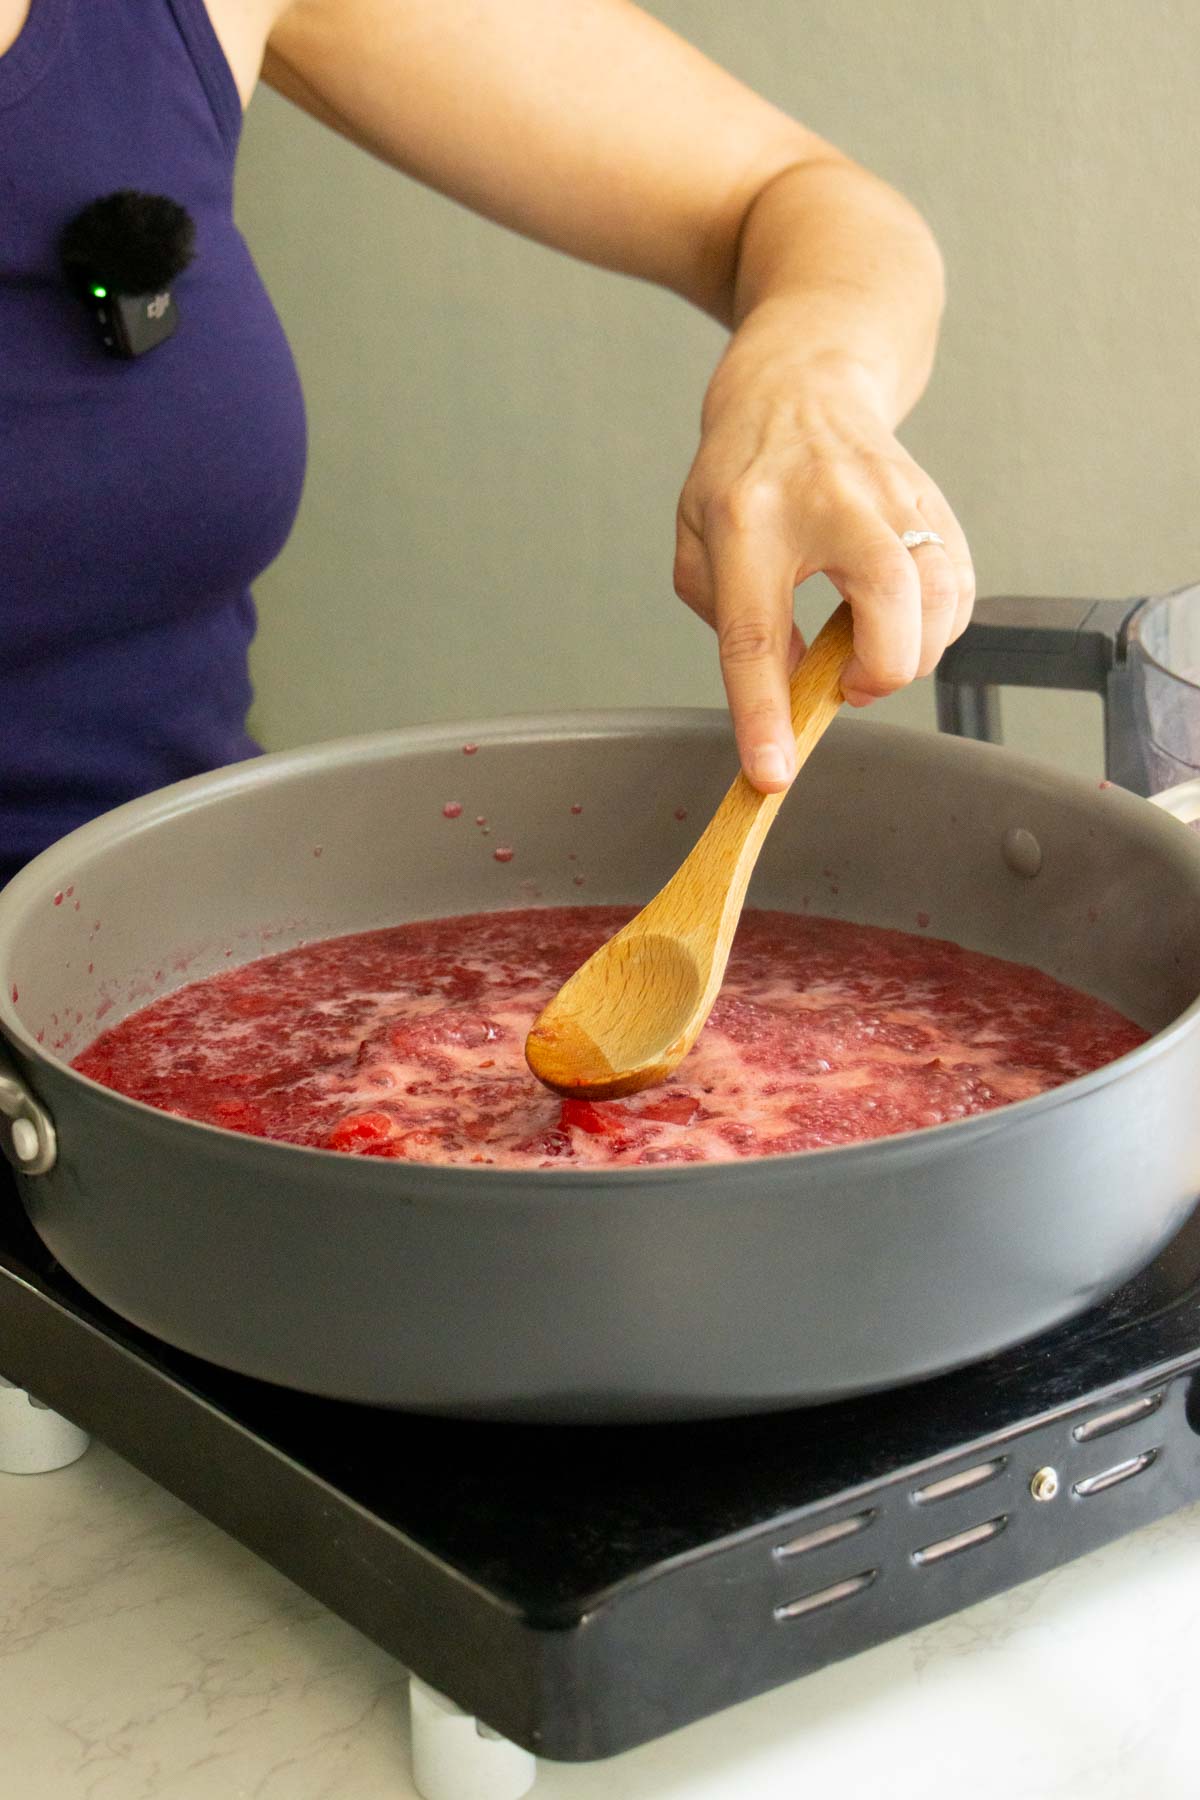
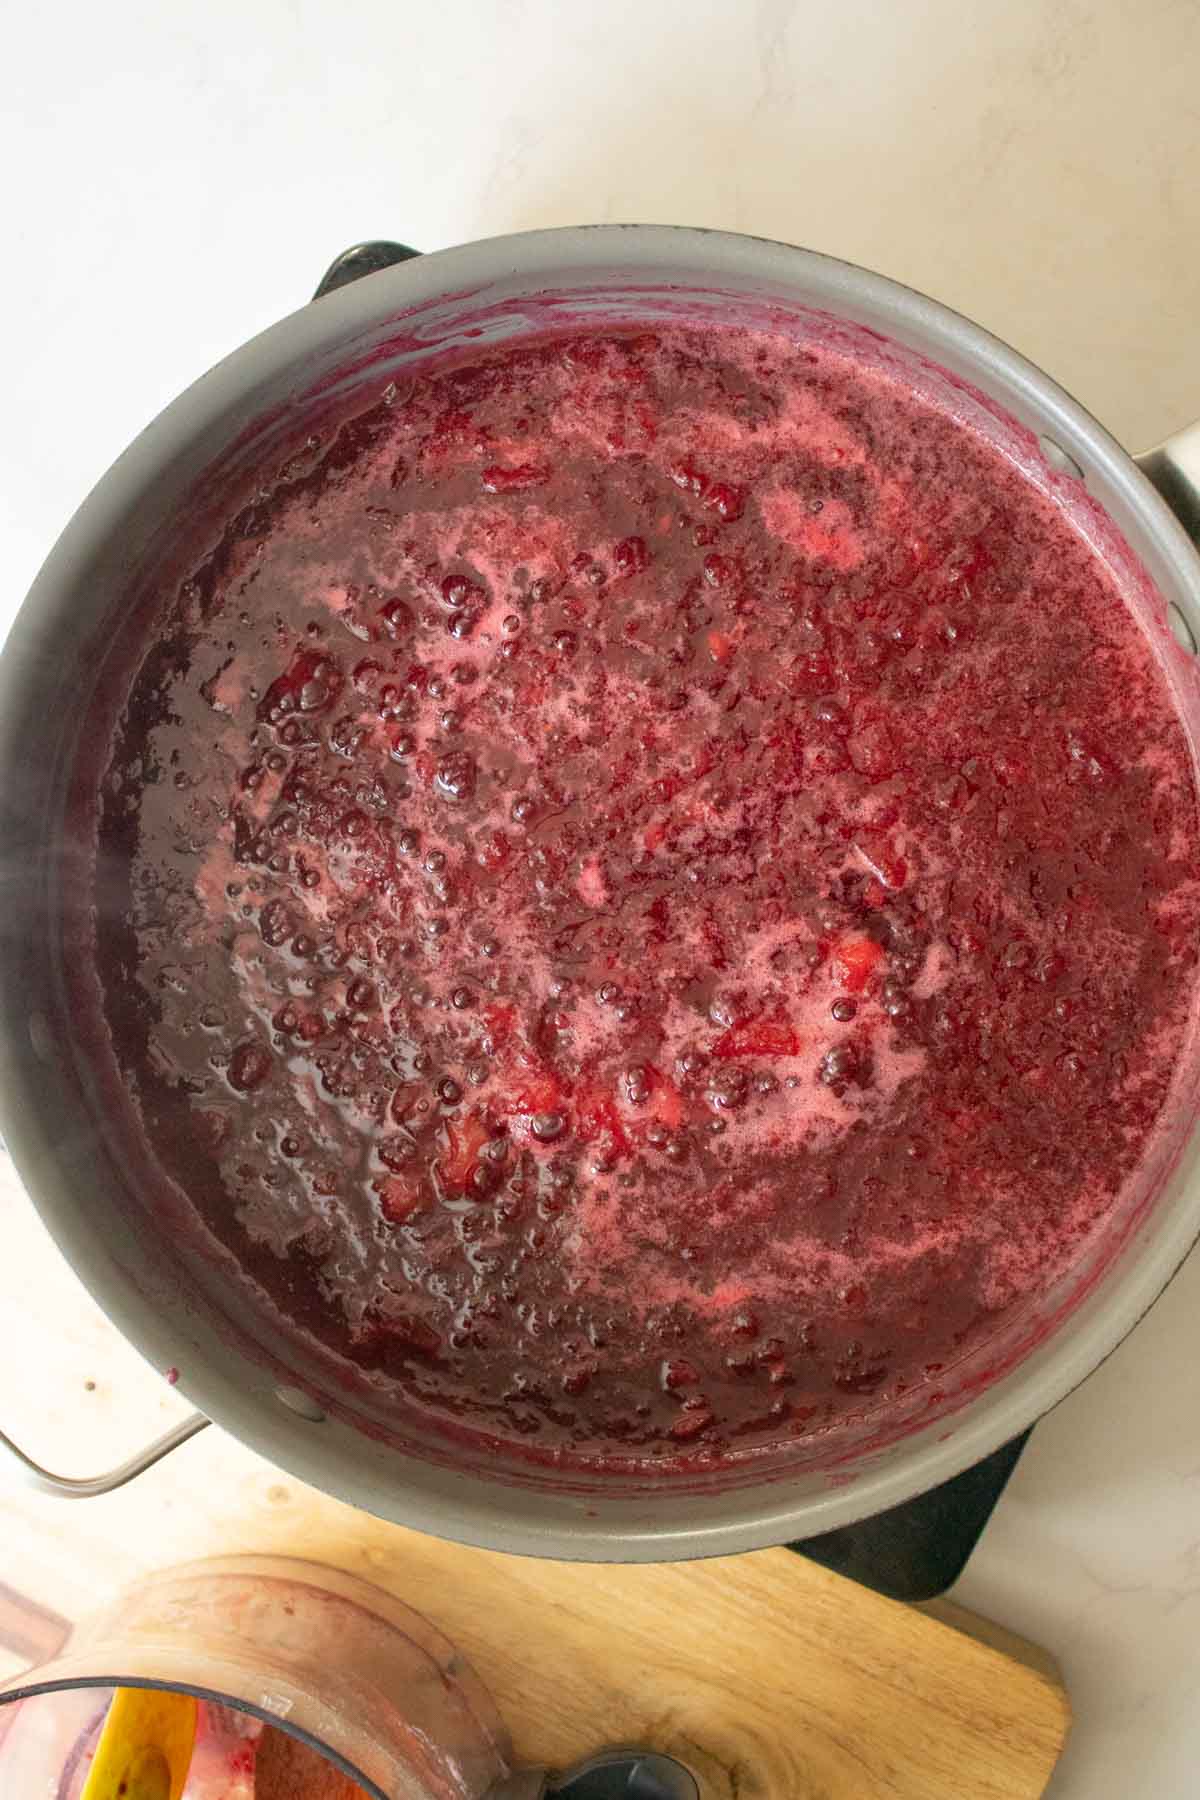
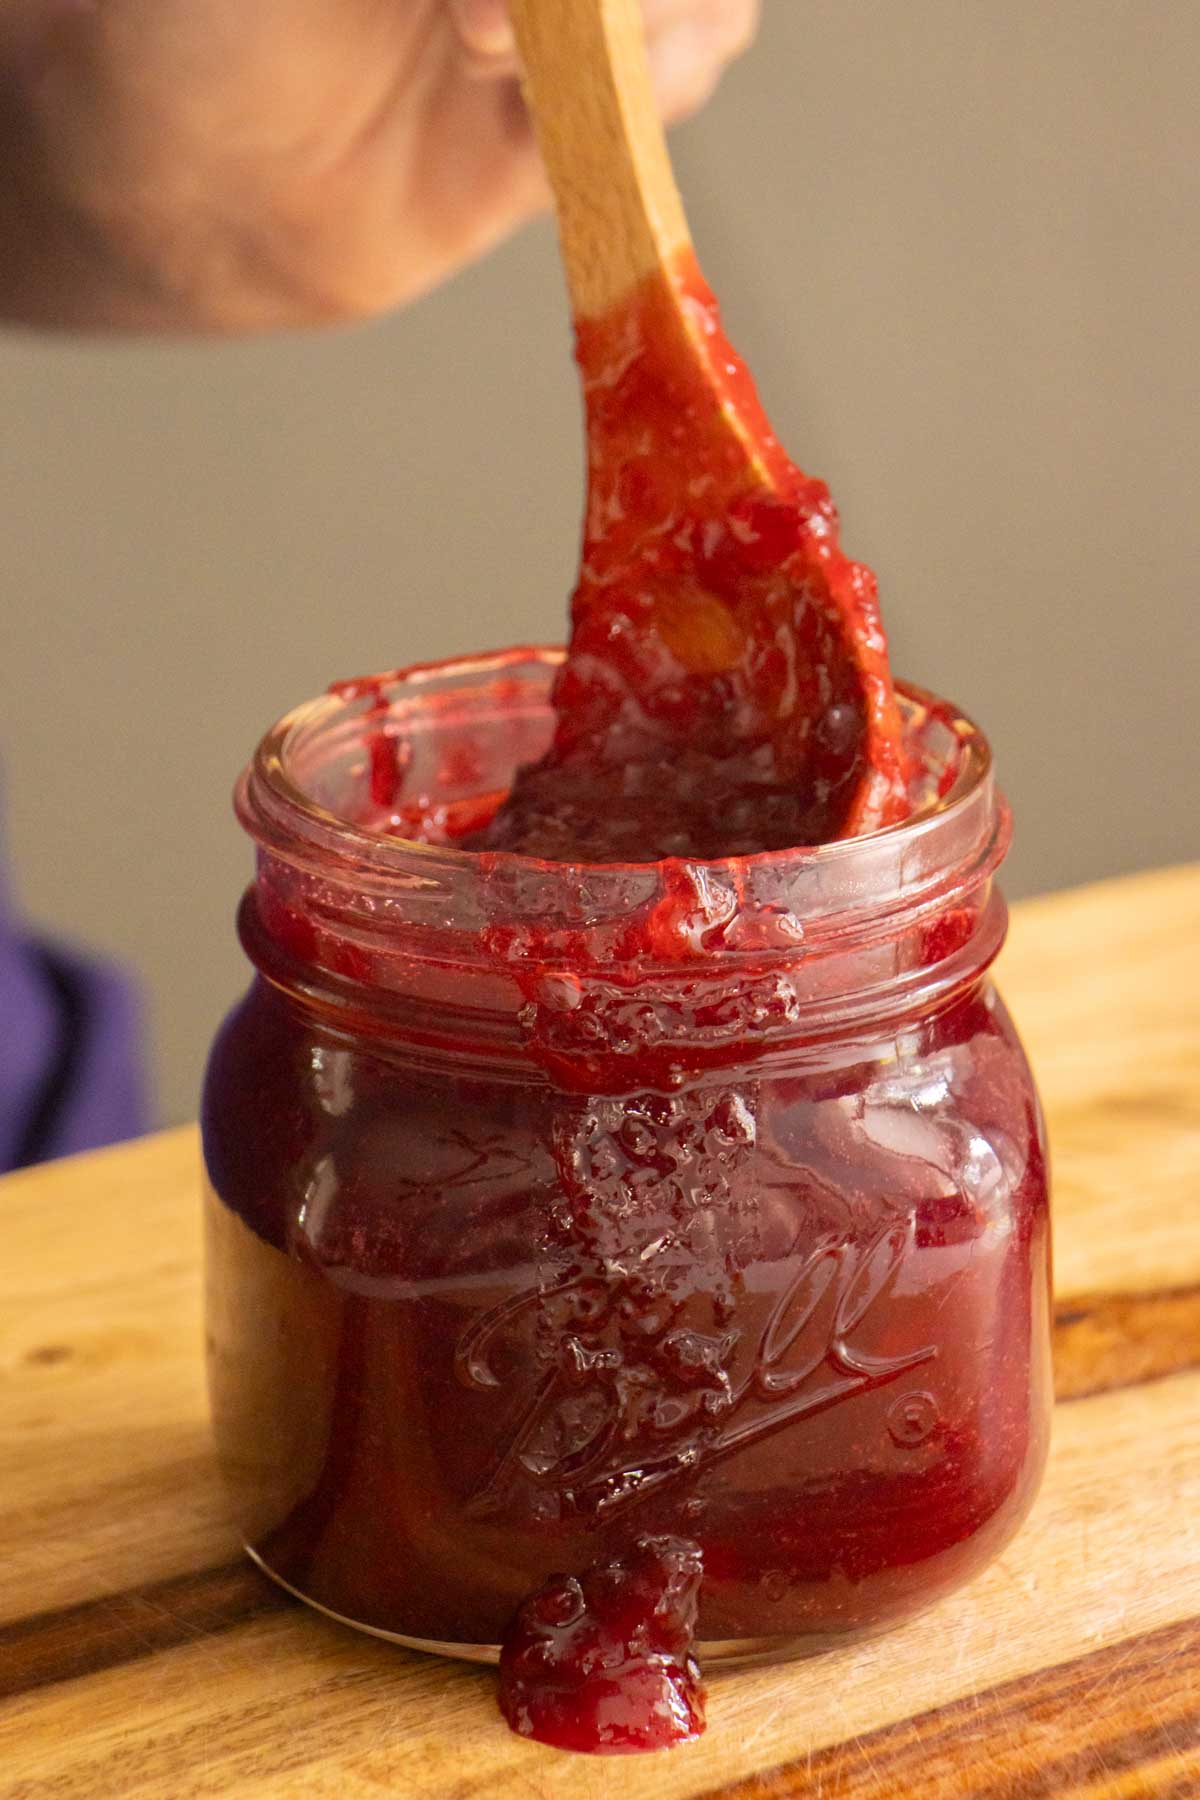
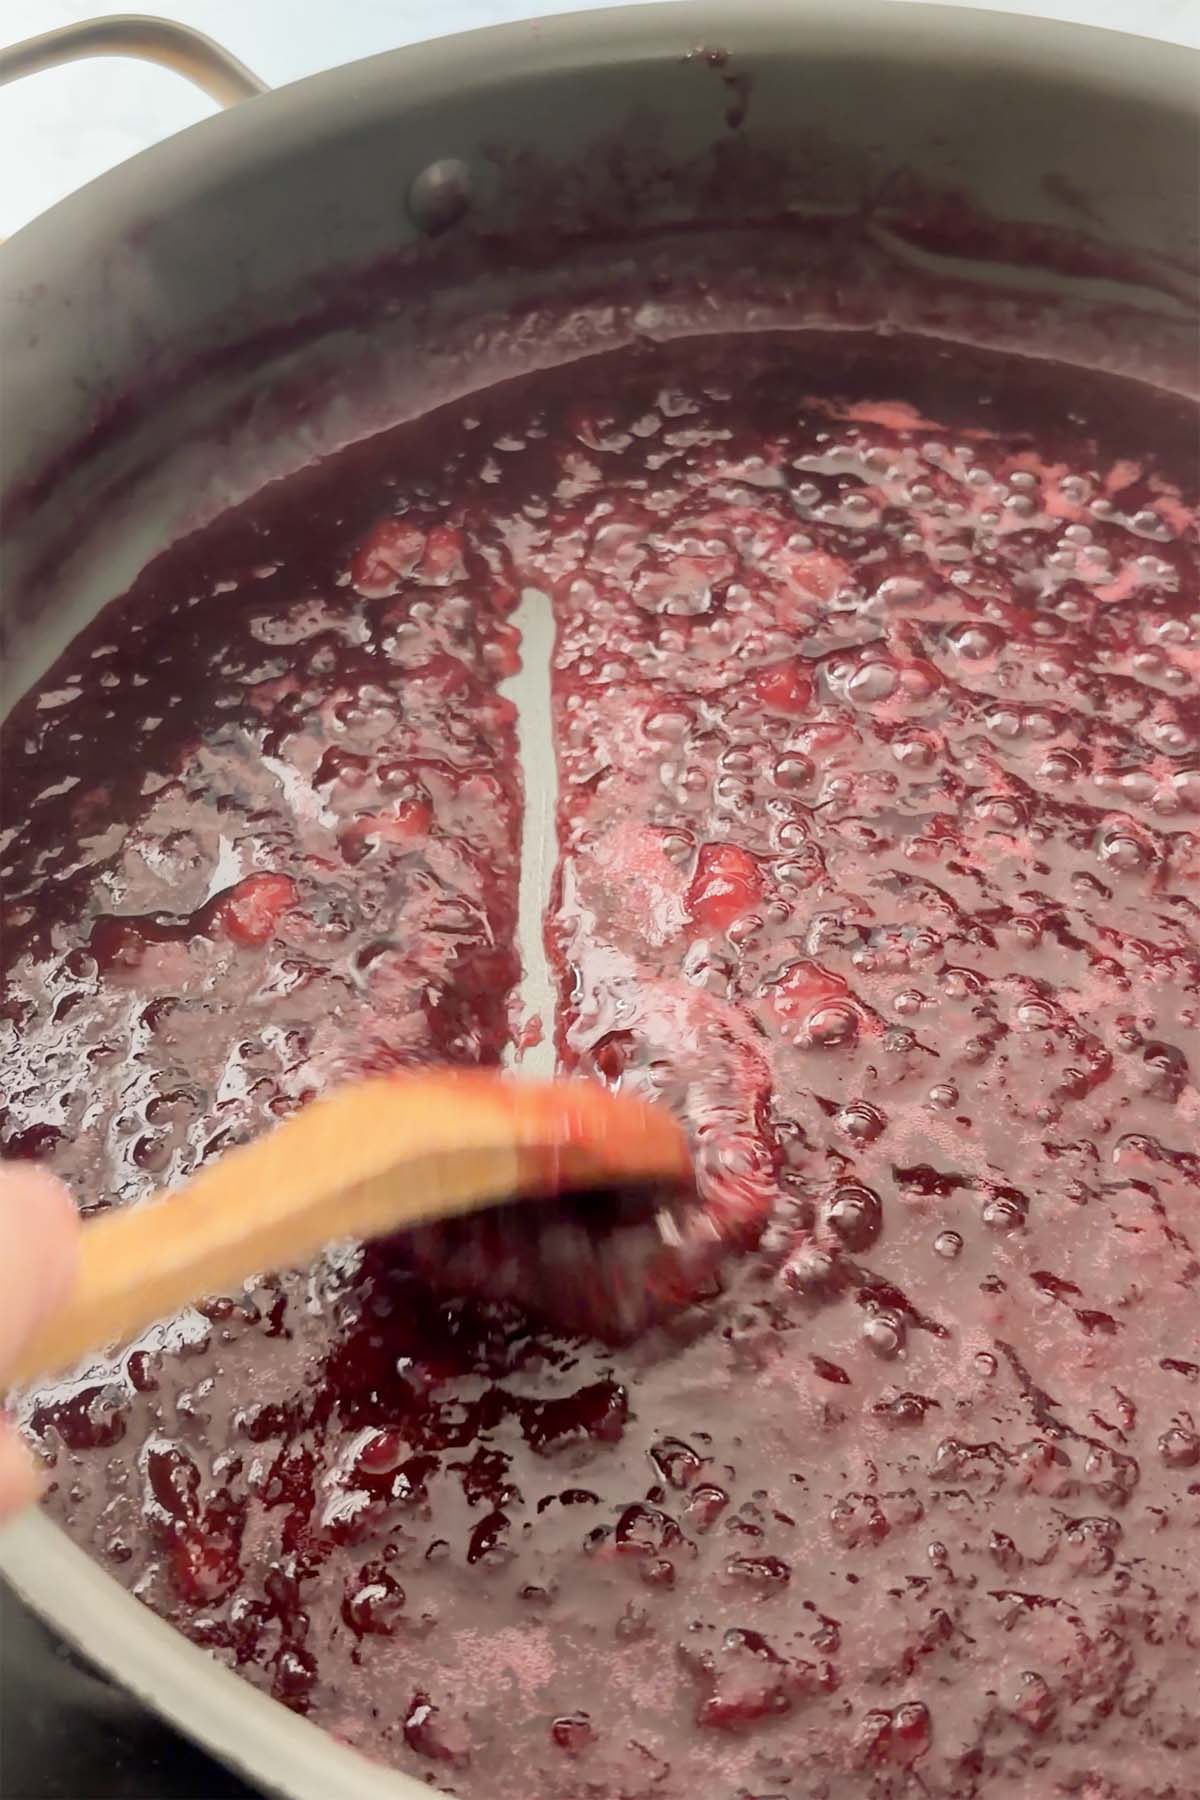
Cook for around 20 to 25 minutes, stirring occasionally, until the mixture is slightly sticky and very shiny without a lot of excess wateriness. Remove from the heat, and let it cool for 10 minutes in the pan.
When the jam has cooled, transfer it to freezer-safe pint jars. Leave ½" of headroom. Wipe any jam that has spilled onto the rim of the jar, and cover loosely with the lid.
Once the jam has cooled completely, tighten the lids and store.
💡 Helpful Tips for the BEST Plum Jam
- Using a frying pan instead of a saucepan reduces cooking time by increasing surface area. Excess liquid will cook away more quickly, so your jam will be ready sooner.
- Your jam is ready when the mixture is very shiny, like store-bought jam. If it's getting too dry and not shiny, reduce the heat a little bit more. Your pan and your stove can vary.
- The cooking time is going to depend on the water content of your plums, your pan, and your stove, so just keep an eye on it.
- Plum freezer jam is actually still cooking as it cools in the pan, so don't skip the cooling step.
- Transferring the jam to the jar can get messy, even with a wide-mouth jar. Throw a clean rag on the counter to reduce clean-up.
- Don't forget to leave a little headroom in your jar if you're planning to freeze. The jam expands as it freezes, and that little bit of space gives the extra volume somewhere to go.
🫙 Storage Directions
Once cooled, store the jars in the refrigerator or the freezer. Plum freezer jam will keep for up to one year in the freezer or two weeks in the refrigerator.
Thaw your freezer plum jam overnight in the refrigerator or for a few hours on the countertop, then store in the fridge.
💬 Frequently Asked Questions
Freezer jam is a quick preserve that doesn't need to be hot water canned. The trade-off for easier prep is that you must store it in the freezer or in the refrigerator, since it's not shelf-stable.
You don't. In fact, the peels contain pectin, which helps the jam thicken as it cools.
Yes! You can use plastic instead of glass. I always have a stash of reused glass jars handy for recipes like this, but if your containers are plastic, have at it! They just need to have an airtight seal, and just like with glass, you want to leave about ½" headroom, so it has room to expand when it freezes.
With plastic, I also recommend cooling the jam completely in the pan before storing, because heat can cause plastic to leach.
📖 Recipe

Plum Freezer Jam (no pectin!)
Equipment
- 2 Pint Jars - preferably wide mouth, since it will be easier to transfer and spoon out the jam.
Ingredients
For the Plum Jam
- 2 pounds fresh plums pitted and cut into chunks. No need to peel!
- 1 cup sugar or use ¾ cup agave nectar or maple syrup
- 1 teaspoon lemon juice
- pinch of salt Just the teeniest pinch!
Optional Additions
- 1 to 2 tablespoons minced ginger
- pinch of cloves
Instructions
- Add all of the ingredients to your food processor and pulse until you reach a compote-like consistency. You don't want the mixture to be completely smooth, so leave some chunks of plum in there! This is a lot of plums, so if you need to process in batches, go for it. It all mixes together in the pan.
- Transfer the plum mixture to a large frying pan on medium-high heat. Bring to a boil, reduce the heat to medium, and cook for around 20 to 25 minutes, stirring occasionally, until the mixture is slightly sticky and very shiny without a lot of excess wateriness. Use your spoon to break up any very big pieces that the food processor may have missed, but some chunks are OK. If it's getting too dry and not shiny, reduce the heat a little bit more. Your pan and your stove can vary. Stir more frequently during the last 7 to 8 minutes, because the jam on the bottom will thicken more quickly than the top and sides.
- Remove from the heat, and let it cool for 10 minutes in the pan. This is important! Do not skip.
- When the jam has cooled, transfer it to freezer-safe pint jars, and wipe any jam that has spilled onto the rim of the jar. If you're planning to freeze, leave ½" of headroom at the top. Cover loosely with the lids. When the jars are cool enough to handle, tighten the lids.
- Freeze or refrigerate until you're ready to use. If you're freezing, let it cool completely in the jar before freezing. If you're refrigerating, just wait until the jar is cool enough to handle before tightening the lid and sticking it into the fridge.

Got a question? Tried this recipe? Leave a reply!